LAB 01-01 - Publish Sensor data to Cloud & Visualize it
Goals
In this Lab we are going to learn how to do the 2 foundational tasks of cloud communication. i.e. send/receive data to/from the cloud
- Device to Cloud Communication: send sensor data to AWS cloud and visualize the data using a simple dashboard
- Cloud to Device Communication: Control a peripheral (LED) from the cloud using AWS Device Shadow**
Key Tasks
1.Installation of the x-cube-aws-sensor-demo source code from the link above
2.Sensor Demo Source Code Overview
3.Build & Run the ST demo
4.Setup the sensor dashboard using STM32CubeMonitor
5.Visualize the dashboard
6.Control the LED from the Dashboard
Installation of the x-cube-aws-sensor-demo source code
Lab 01 - Preparation: A new demo leveraging on the various sensors present on the board is required for this Lab
What is x-cube-aws-sensor-demo
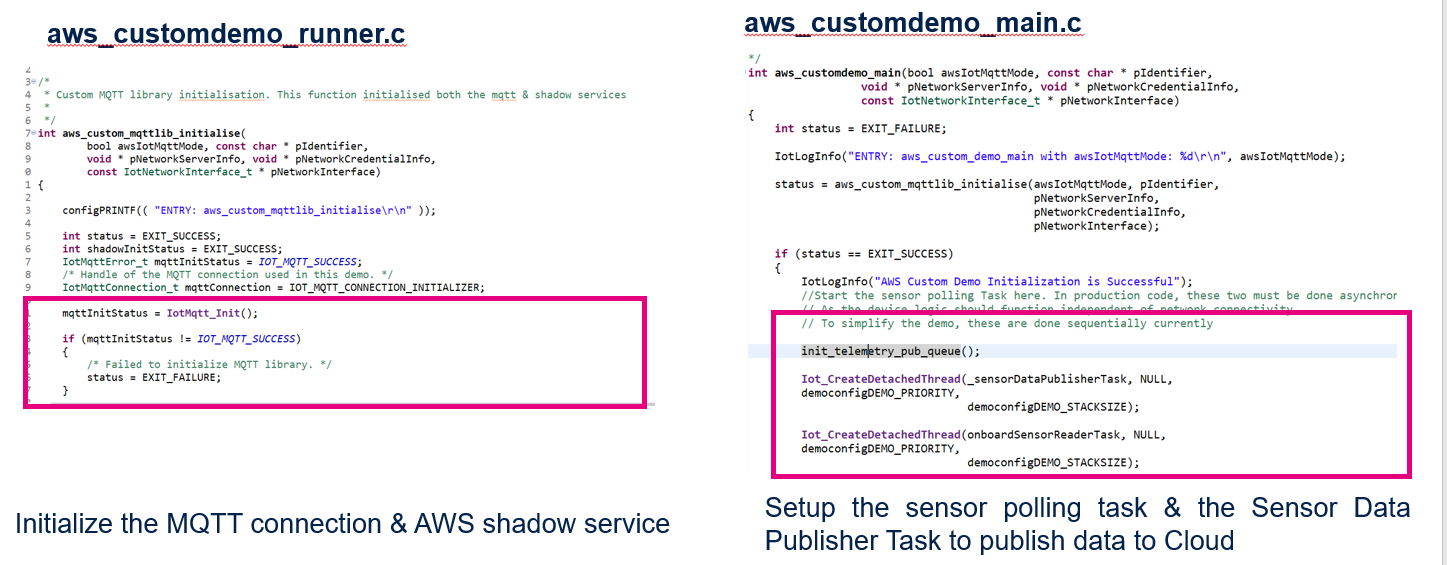
This aim of the demo application is to poll the onboard peripherals in the STM32L4+ target. The x-cube-aws-sensor-demo re-creates the demo runner code, so that there is no overlap with the aws FreeRTOS mqtt demos
1.To avoid any issues let’s close the current aws_demos project and update it. In STM32CubeIDE, right click on the aws_demos project and select close. In STM32CubeIDE, right click on the aws_demos project and select delete (please ensure that the delete project box is NOT selected).
2.In the sensor-demo-src package navigate to STM32CubeExpansion_Cloud_AWS_V2.0.0 directory and copy both Drivers and Projects directories
3.Navigate to your AFR_BASE_DIR and paste the 2 directories previously copied.
This operation will add some new files to the existing directories and replace some of them with new versions.
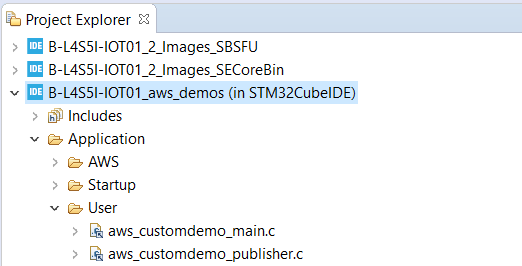
4.In STM32CubeIDE re-open the updated demo project with File –> Import –> Next (please make sure not to select the aws_tests project which is useless for this workshop)

Let’s understand the sensor demo
-
The sensor demo extends the AWS standard demos to demonstrate the ST board specific capabilities (sensors & led control). The network context re-use the FreeRTOS demo code. Migrating this to the production version of the Firmware application, some additional work, since the sensor demo code, relies on the FreeRTOS standard demos
-
The demo reuses the network initialization functions from the AWS standard demos (WiFi initialization etc.,)
-
Support for the below sensors are added Humidity Sensor Temperature Sensor Pressure Sensor Magneto Sensor Gyro Sensor Accelerometer Proximity Sensor
-
LED control
Sensor Demo Source Code Overview
WiFi & AWS IoT Core Configuration
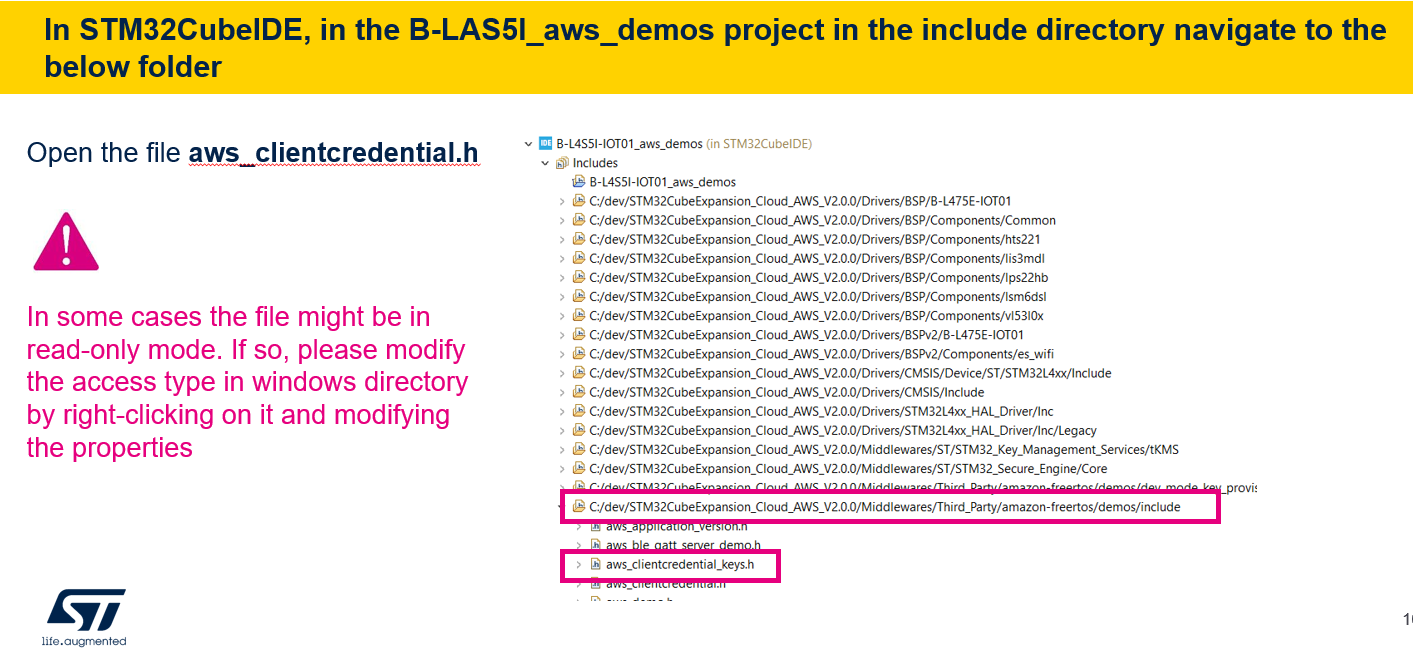
Locate the right file
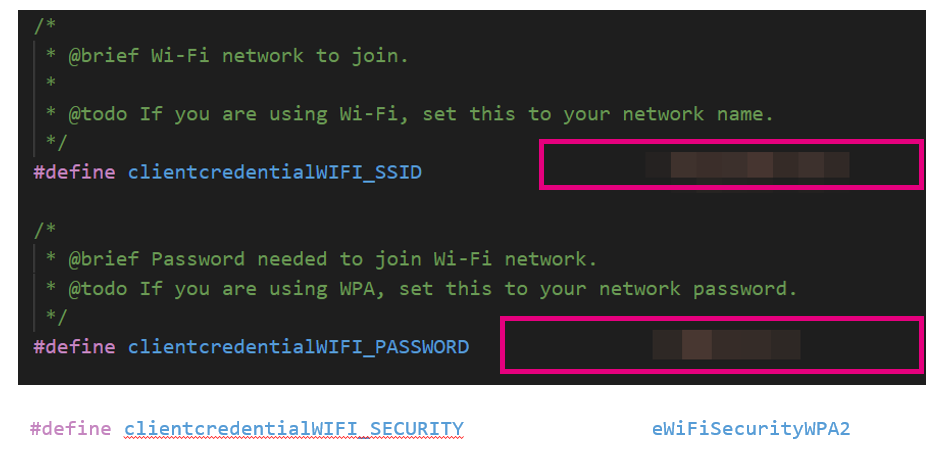
Configure Wifi Credentials
In aws_clientcredential.h
Update the WiFi credentials,per your local environment setup Update the WiFi security if it is required for your setup.
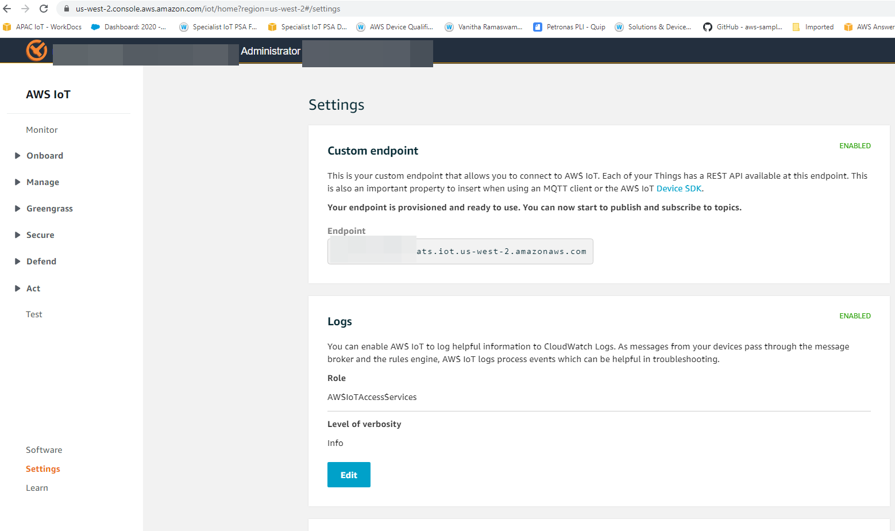
Configure IoT Core Endpoint
In aws_clientcredential.h
Navigate to the AWS IoT console and click on the Settings Menu & copy the Endpoint
Back in STM32CubeIDE, in the previously opened aws_clientcredential.h file, update the IoT Core endpoint value in:
clientcredentialMQTT_BROKER_ENDPOINT
Then update your thing name value in: clientcredentialIOT_THING_NAME
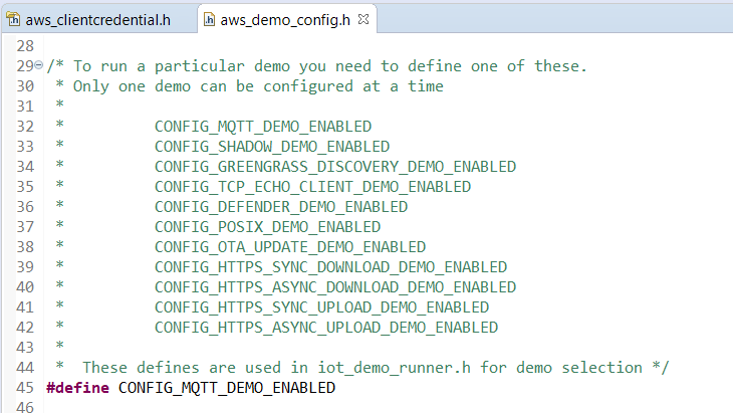
Ensuring the right Demo is to be used, enable the default FreeRTOS MQTT DEMO
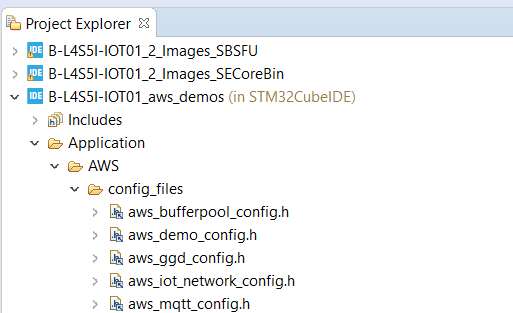
In STM32CubeIDE, navigate to the folder shown below and open aws_demo_config.h
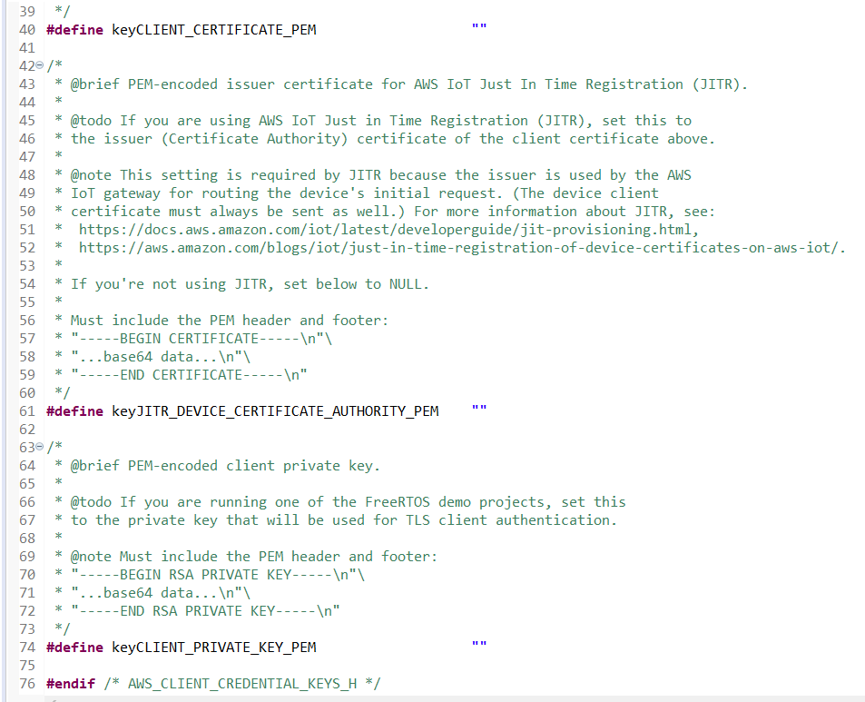
*** Note *** For users who are familiar with the STM32L4 board without secure element (B-L475-IOT01A)
In your configuration you used to fill the aws_clientcredential_key.h file
The below file is not used anymore when the secure element is used.
The private key never gets out of the secure element chip so there is no need to configure the private keys & certificates manually
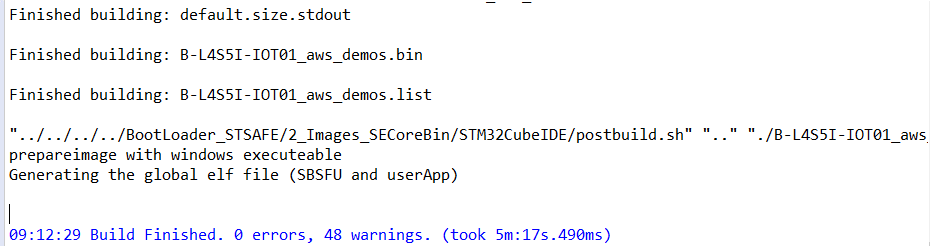
Compile the Project
Compile the aws_demos project by right click on the project then Clean Project and subsequently Build Project
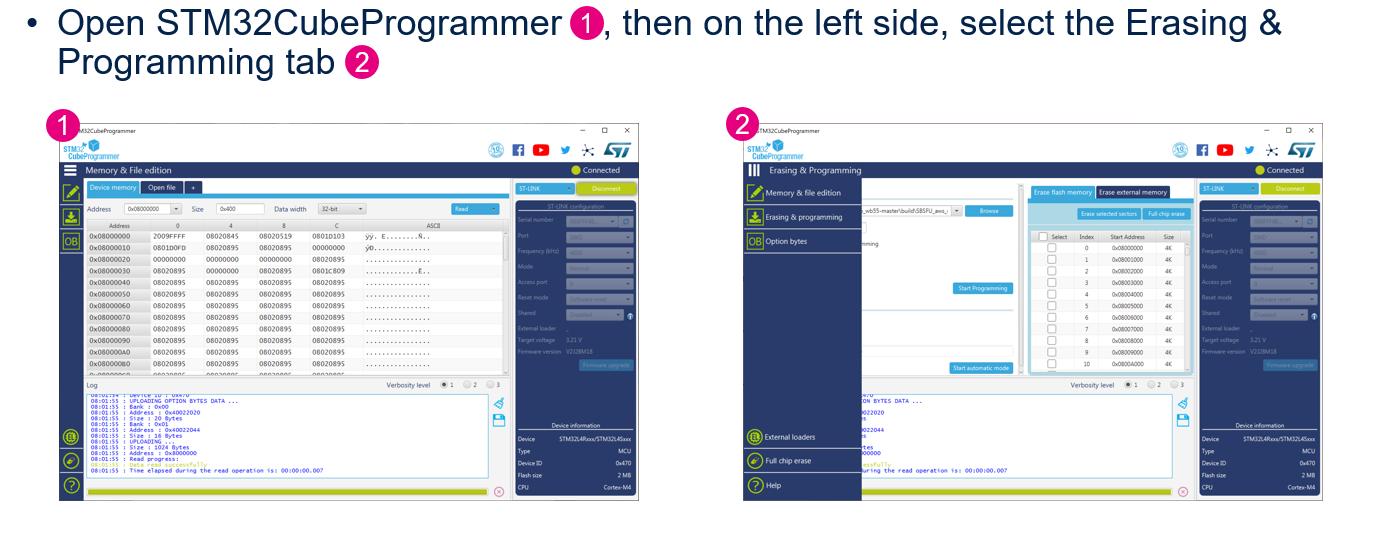
Download the project onto the Device
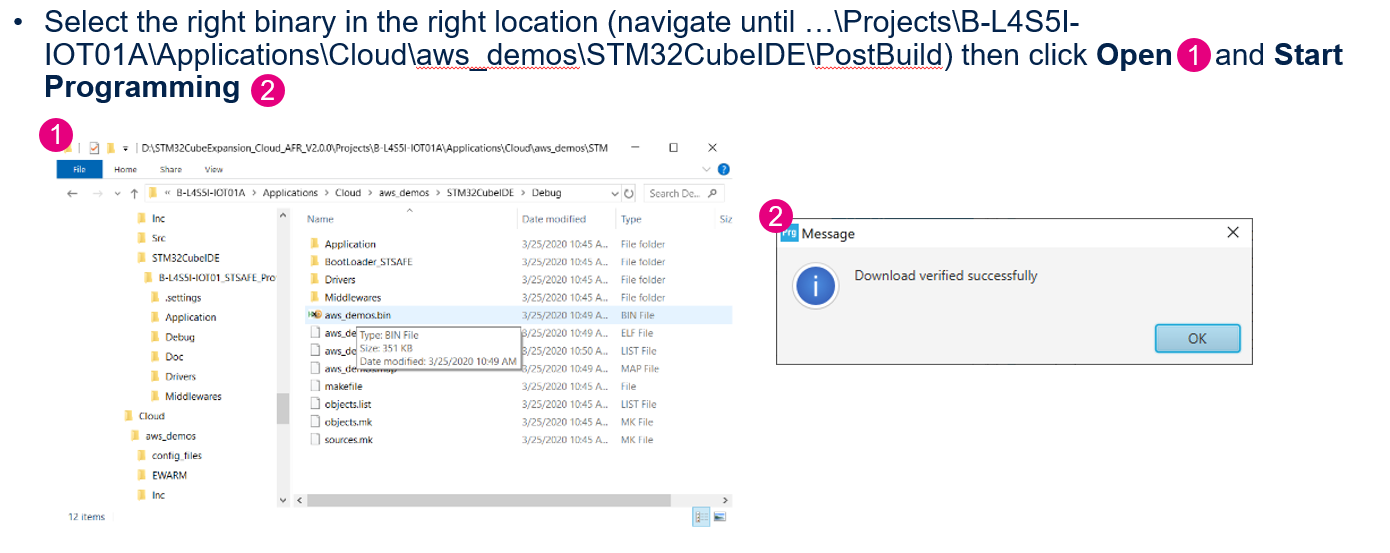
Download the project onto the Device
Let’s Verify the Sensor Data is published to Cloud through the console and the AWS platform…
There are multiple ways to confirm whether the sensor data collection task is polling for the data & publishing to the cloud
- Observe the output thru the local console. Reusing your terminal console (TeraTerm, Putty) verify your device can connect to WiFi, AWS IoT Core, and publish sensor values to cloud!
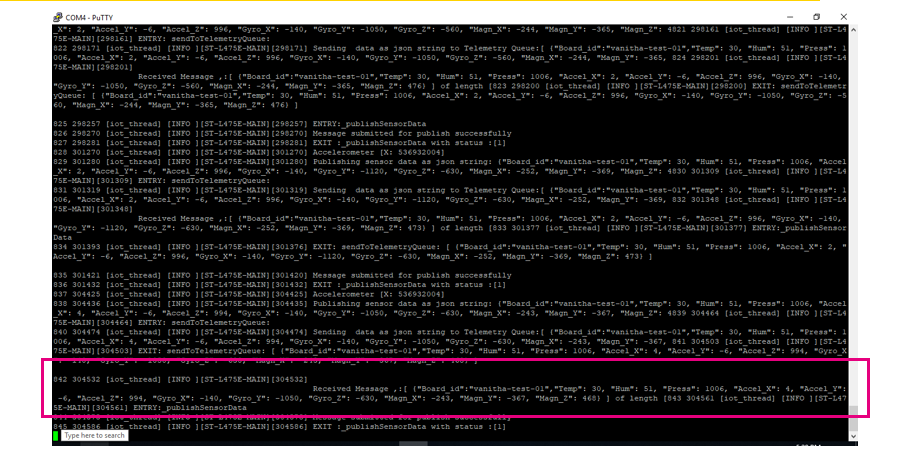
Sensor values received by MQTT broker
Now let’s check that on AWS we do see the values coming from the board
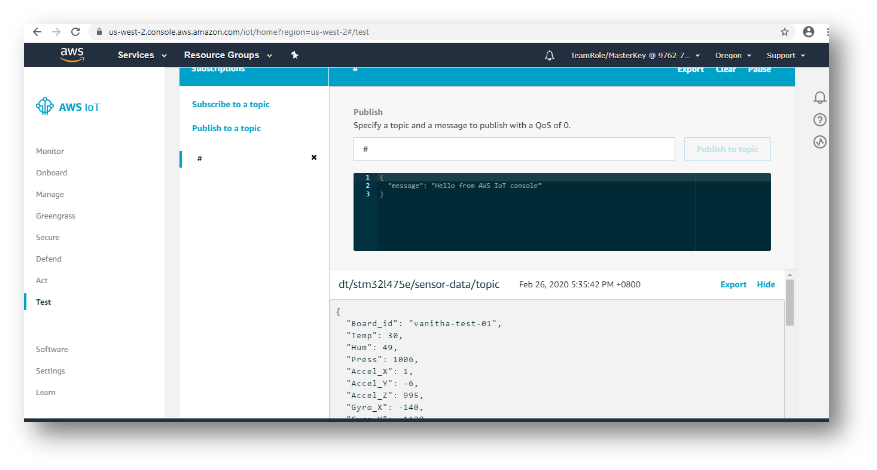
In AWS Console open IoT Core Test and click subscribe to a topic. The target publishes to the dt/stm32l475e/sensor-data/topic. “# is a wild-card. Listens to all the topic”